
Where to Start?
There are multiple instances of the Dash tool (with different URLs) that all have similar functions, look, and feel. Read more on why.
Researchers at UC Berkeley, Irvine, Merced, Santa Cruz, San Francisco or UCOP can use their campus-specific Dash instance:
- UC Berkeley Dash: dash.berkeley.edu
- UC Irvine Dash: dash.lib.uci.edu
- UC Merced Dash: dash.ucmerced.edu
- UCOP Dash: dash.ucop.edu
- UCSC Dash: dash.library.ucsc.edu
- UCSF Datashare: datashare.ucsf.edu
Other Researchers (not a University of California researcher or your campus is not a partner) can use DataONE Dash (oneshare.cdlib.org). This instance is available to anyone, free of charge. Use your Google credentials to deposit data.
Note: Data deposited into any Dash instance is visible throughout all of Dash. For example, if you are a UC Merced researcher and use dash.ucmerced.edu to deposit data, your dataset will appear in search results for individuals looking for data via any of the Dash instances, regardless of campus affiliation.
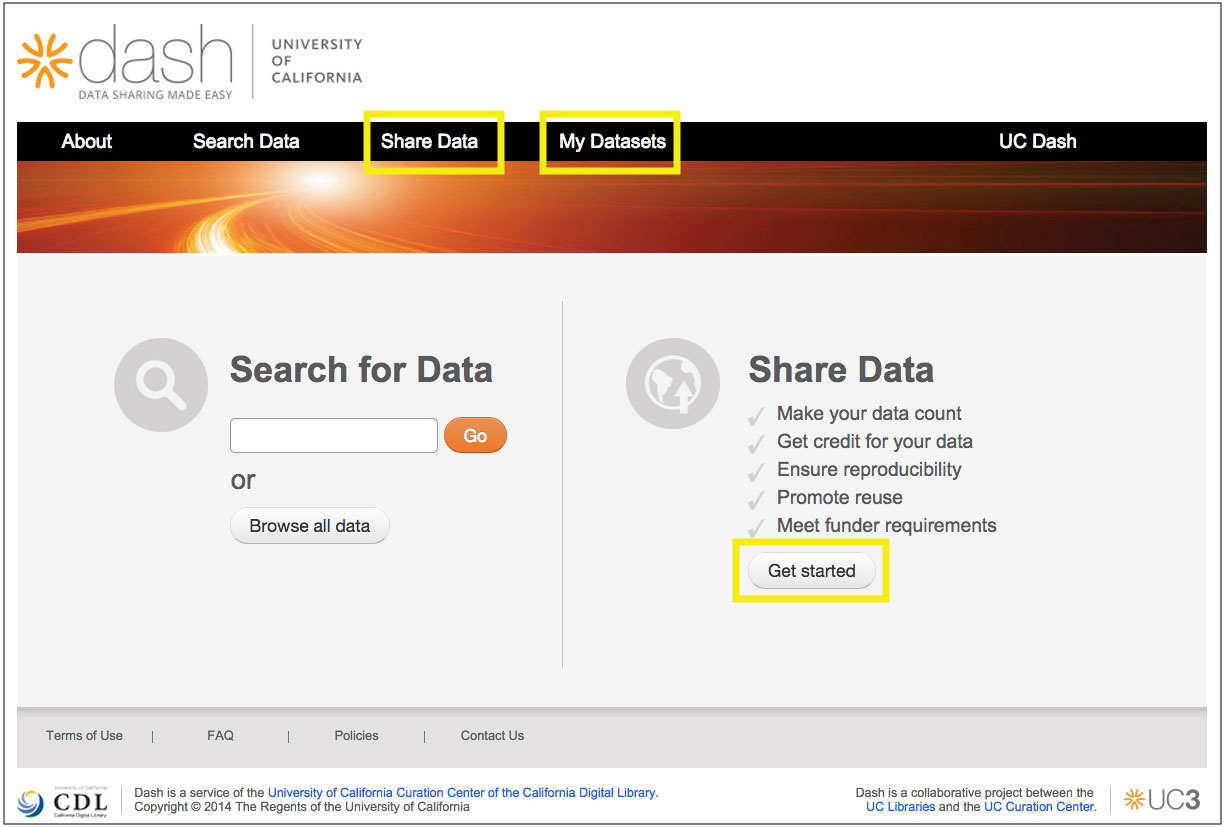
Home Page Overview
The Dash home page is institution-specific. Navigate to the appropriate home page (see above):
- UC Berkeley Dash: dash.berkeley.edu
- UC Irvine Dash: dash.lib.uci.edu
- UC Merced Dash: dash.ucmerced.edu
- UCOP Dash: dash.ucop.edu
- UCSC Dash: dash.library.ucsc.edu
- UCSF Datashare: datashare.ucsf.edu
- DataONE Dash: oneshare.cdlib.org
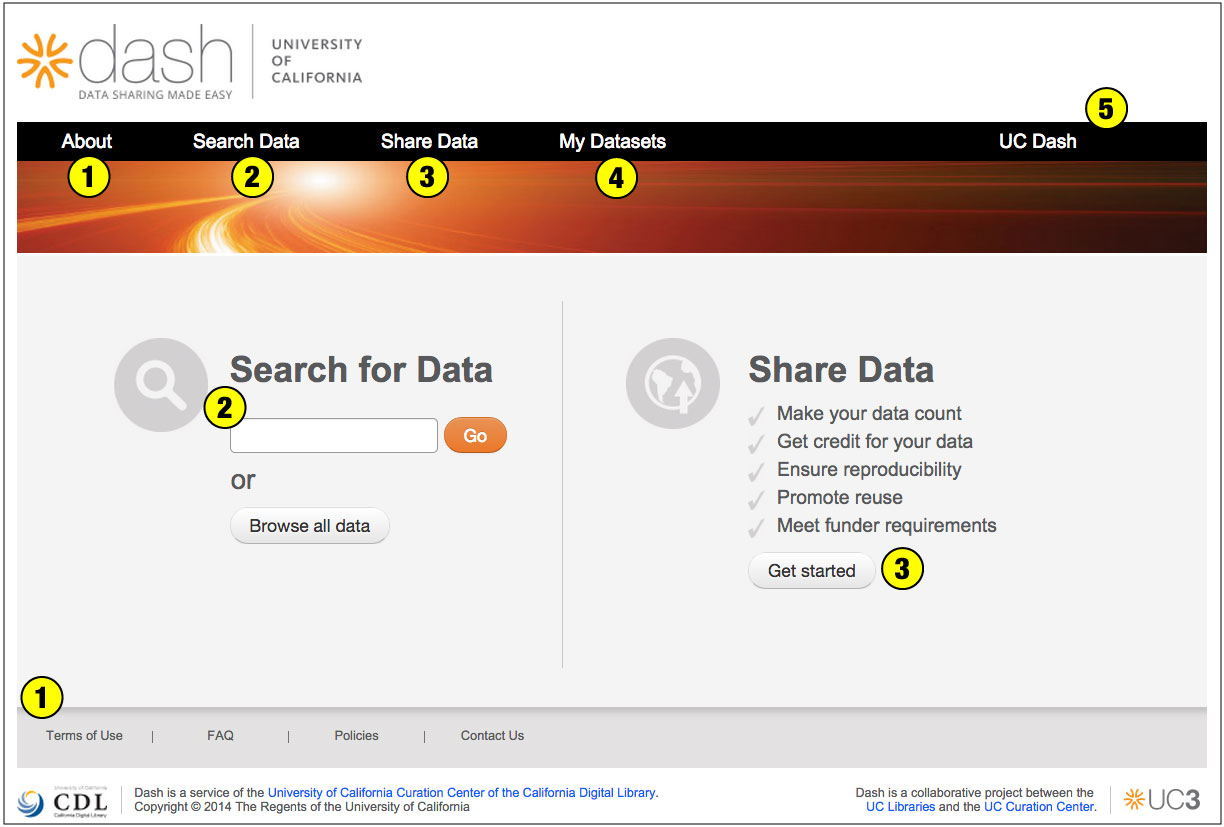
Contents:
- General information about the project (About, Terms of Use, FAQ, Policies, and Contact Us)
- Search and/or browse datasets in Dash
- Learn more about how to deposit data in Dash
- Log into the Dash system (you must be at the appropriate URL for your institution)
- If you are using a non-UCOP version of Dash (e.g., UCLA or DataONE), a logo will appear here and “UC Dash” in the bar will reflect the instance of Dash you are using
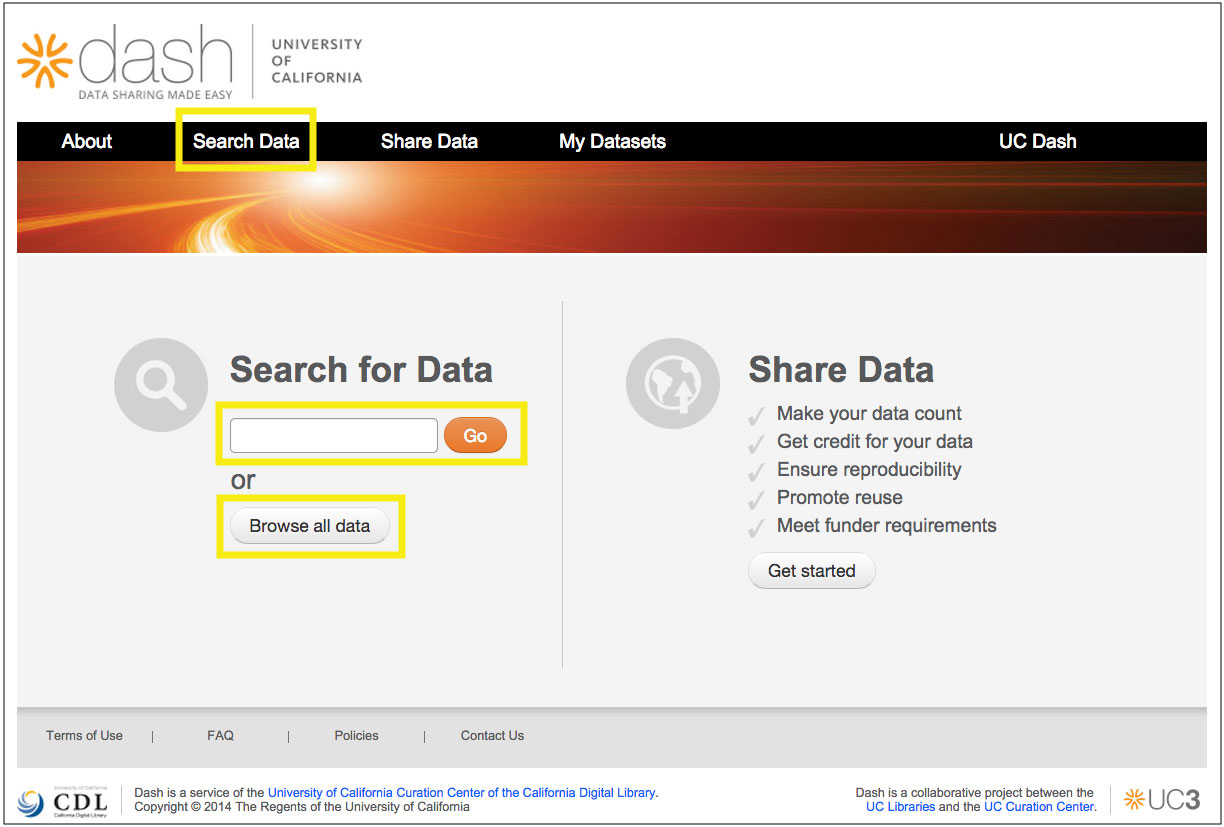
Finding Data
You do not need to log into Dash to search, browse, or download data.
- Go to the Dash home page of your choosing (see list above)
- Do one of the following:
- Click “Search Data” to browse all
- Enter a search term in the box to look for specific data
- Click “Browse All Data” to browse all
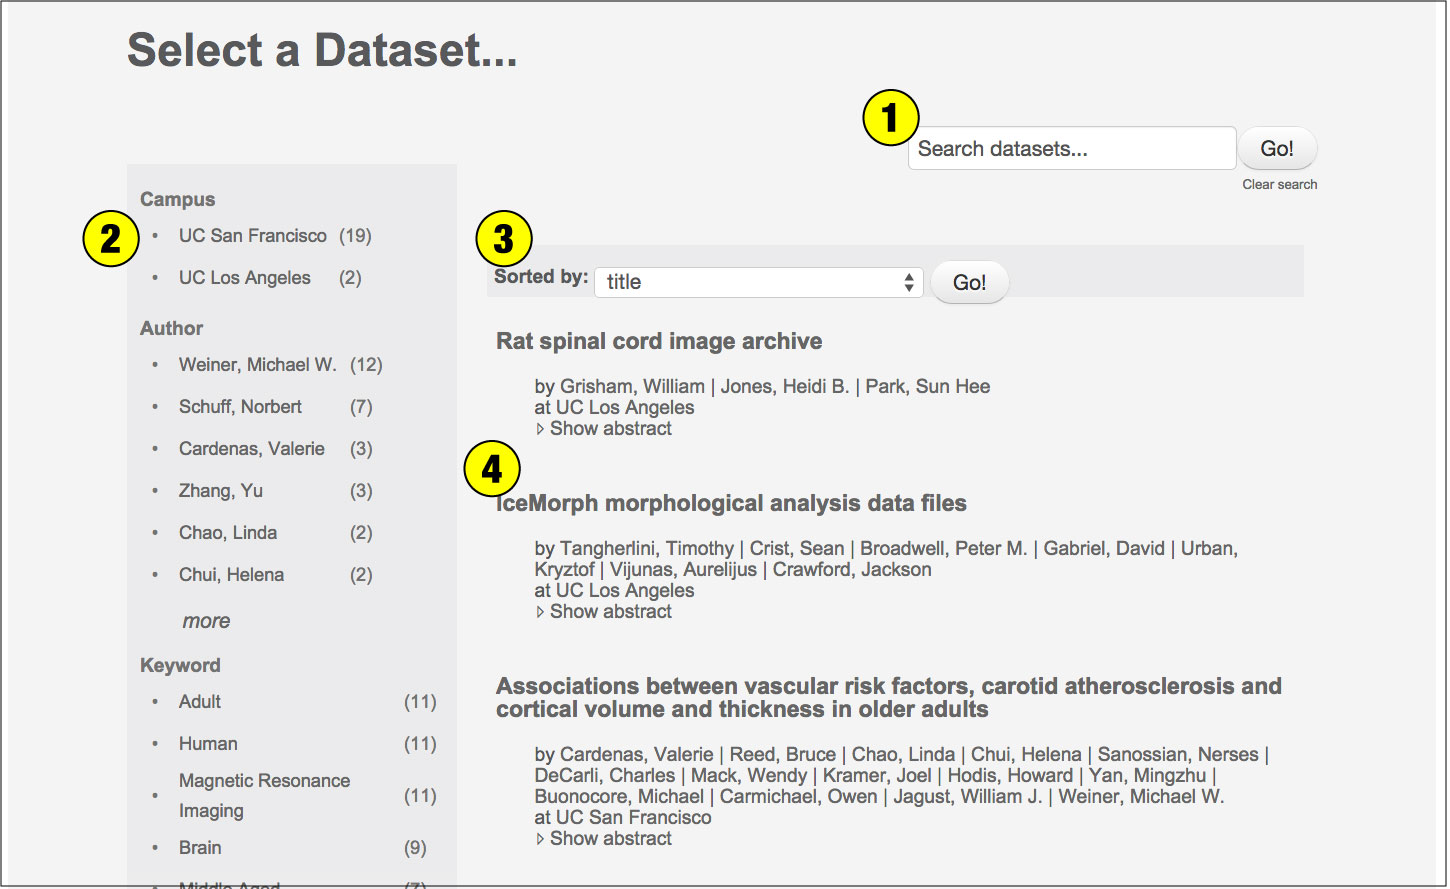
Browse data
- Search all datasets in Dash by entering term(s)
- Use the facets on the left (Campus, Author, Keyword) to narrow down your search
- Search results can be sorted by title, author, etc
- Search results are displayed; click on the title to go to the dataset landing page and view the full metadata
Dataset page
- Metadata for the dataset is displayed
- Download the dataset by clicking the button. Note the size of the dataset is displayed
- License and use terms for the dataset are displayed
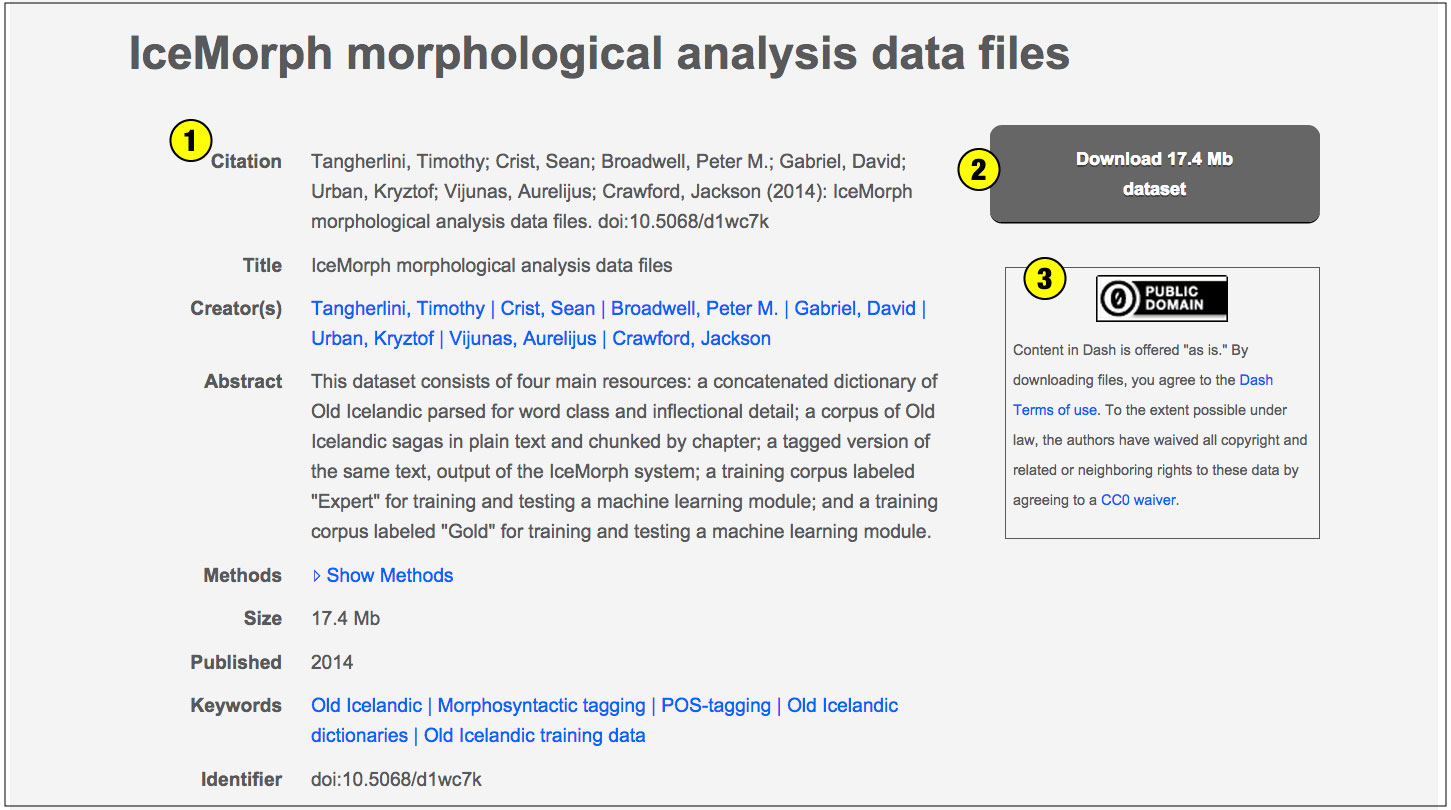
See our User Guide on Downloading Data for more information.
Depositing Data
Go to the Dash home page of your choosing (see list above). Log into Dash. Do this by one of the following routes:
- Clicking on “Share data” in the menu bar
- Clicking on “My Datasets” in the menu bar
- Clicking on “Get Started”. This option will provide you with more on metadata, uploading basics, and other helpful information
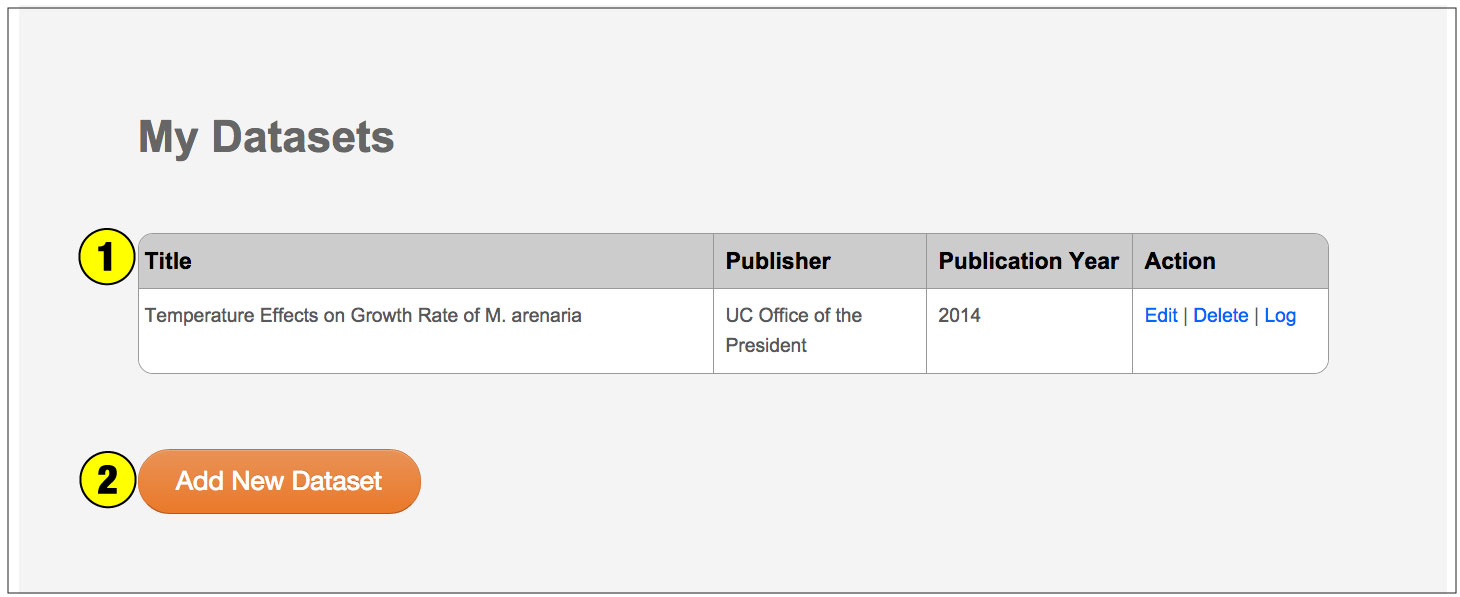
My datasets
Once logged in, you will be on a page called the “My Datasets”.
- Previously added datasets will be displayed here
- Click “Add New Dataset” to add a new dataset to Dash
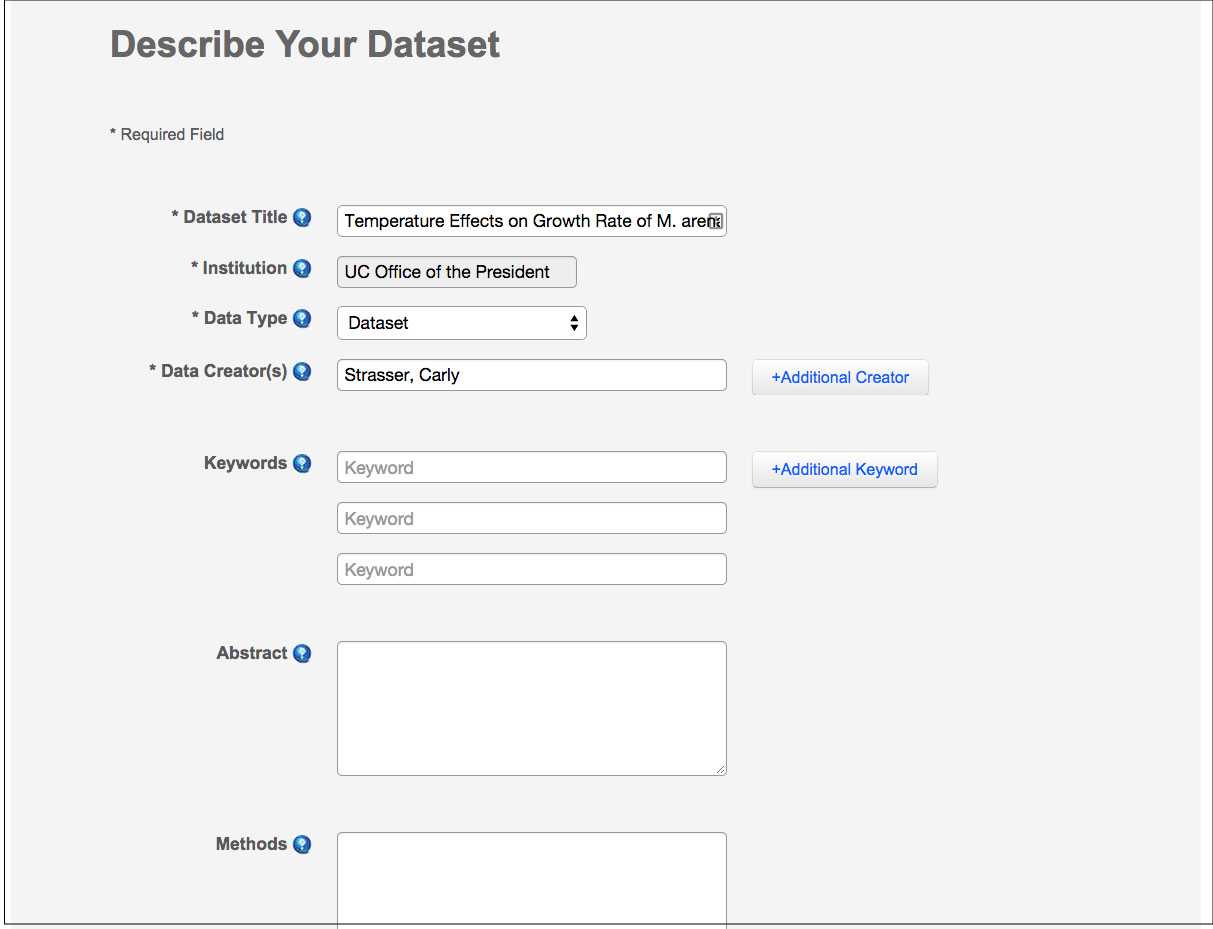
Enter metadata
- Add metadata for your dataset. For help, click on the blue circles with “?” next to the metadata field
- Click “Save and Continue”
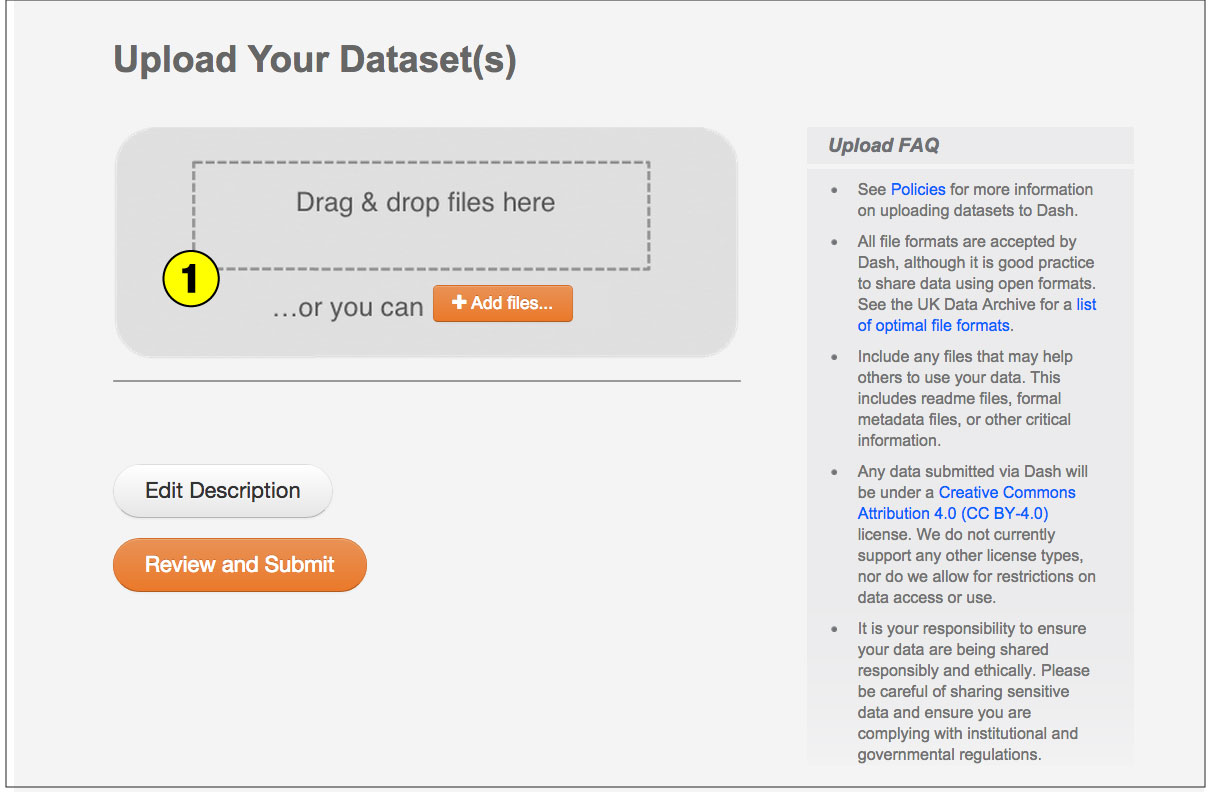
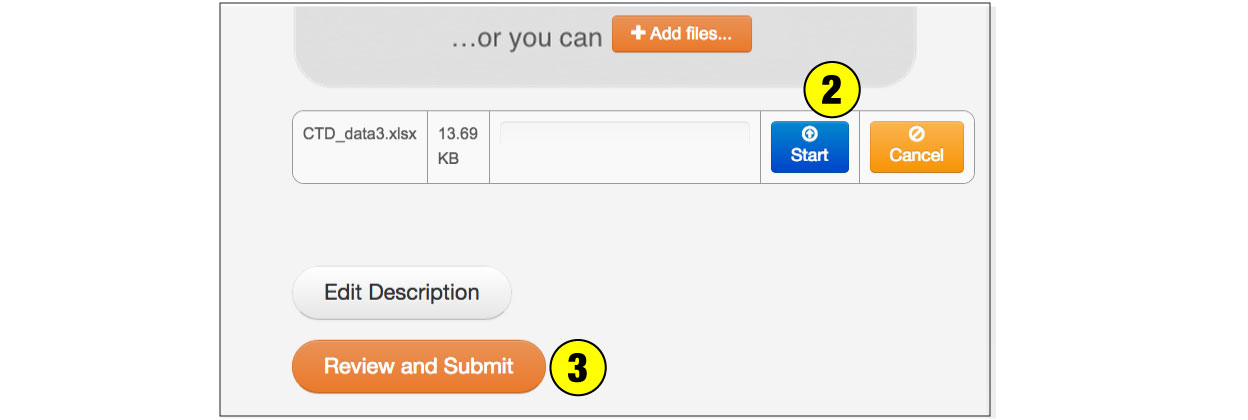
Upload data files
- Upload your dataset file(s): browse or drag and drop
- Click “Start” to upload
- Once completed, click “Review and Submit”
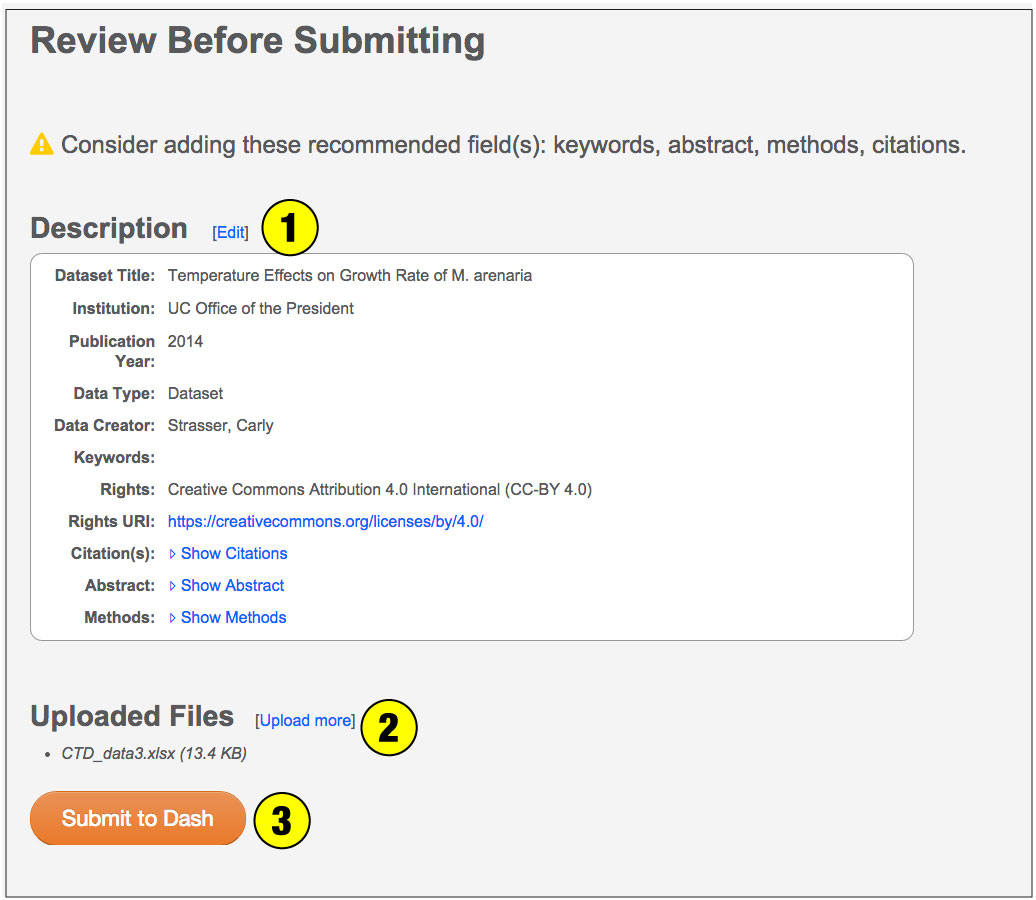
Review your submission
- Review metatadata to be sure it’s correct
- Ensure all data files are uploaded
- Click “Submit to Dash”
- Acknowledge that your data will be available under a CC-BY or CC0 license (not shown)
You will receive an email confirming your submission. Please allow 12-24 hours for your data to appear in Dash.